Cake pops have become a beloved treat, combining the rich taste of cake with the fun presentation of a lollipop. This comprehensive guide will teach you everything you need to know to create perfect cake pops from scratch.
Understanding Cake Pops
Cake pops are bite-sized balls of cake mixed with frosting, mounted on lollipop sticks, and dipped in coating. While they may seem intimidating at first, making cake pops is surprisingly straightforward once you understand the fundamentals.
Basic Components
- Crumbled cake (homemade or box mix)
- Frosting (homemade or store-bought)
- Candy melts or chocolate for coating
- Lollipop sticks
- Decorative elements like sprinkles
Essential Equipment
Must-Have Tools
- 9-inch springform pan or 11×7-inch baking pan
- Large mixing bowl
- Electric mixer (stand or handheld)
- Cookie scoop or tablespoon
- Microwave-safe bowl or double boiler
- Styrofoam block or box for drying
- Wax paper or parchment paper
Making the Perfect Cake Base
The foundation of great cake pops starts with the cake itself. While box mixes work well, a homemade cake offers superior taste and texture.
Cake Tips
- Use room temperature ingredients
- Don’t overmix the batter
- Allow cake to cool completely before crumbling
- Break cake into very fine, even crumbs
The Art of Assembly
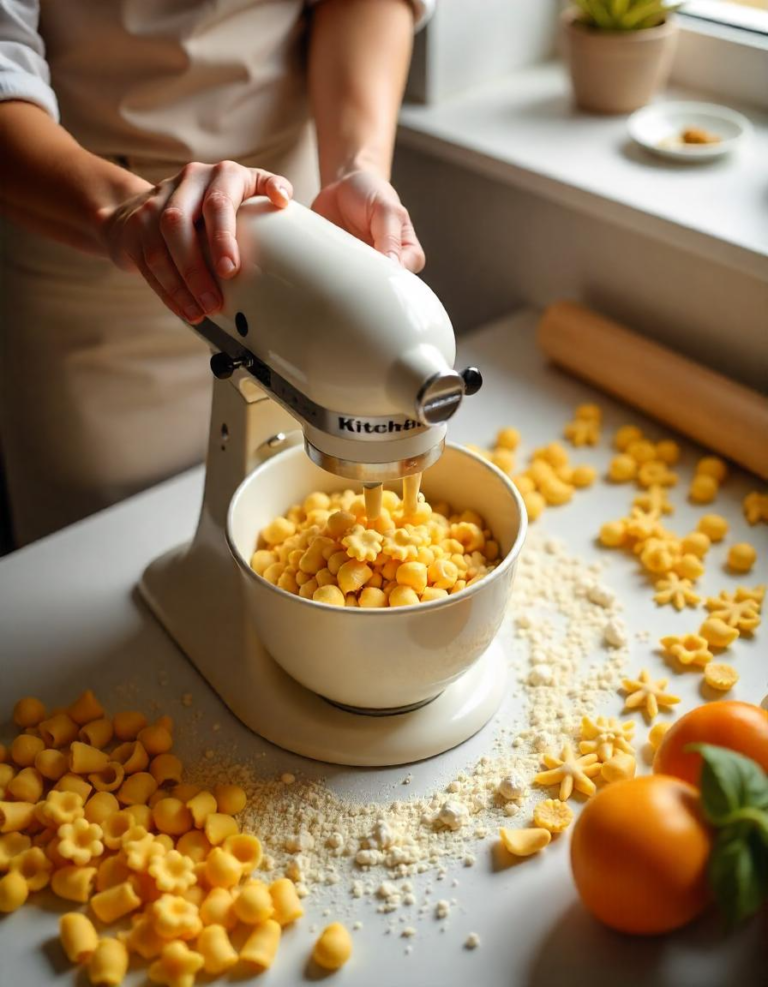
Step-by-Step Process
- Crumble cooled cake into fine crumbs
- Mix with frosting gradually until the texture resembles wet sand
- Roll mixture into uniform 1-inch balls
- Chill balls for at least 2 hours or freeze for 1 hour
- Re-roll chilled balls to smooth surfaces
- Insert lollipop sticks dipped in coating
- Dip and decorate
Mastering the Coating Process
The coating process can make or break your cake pops. Here are crucial techniques for success:
Coating Tips
- Work with a few cake balls at a time, keeping others chilled
- Let melted coating cool slightly before dipping
- Tap gently to remove excess coating
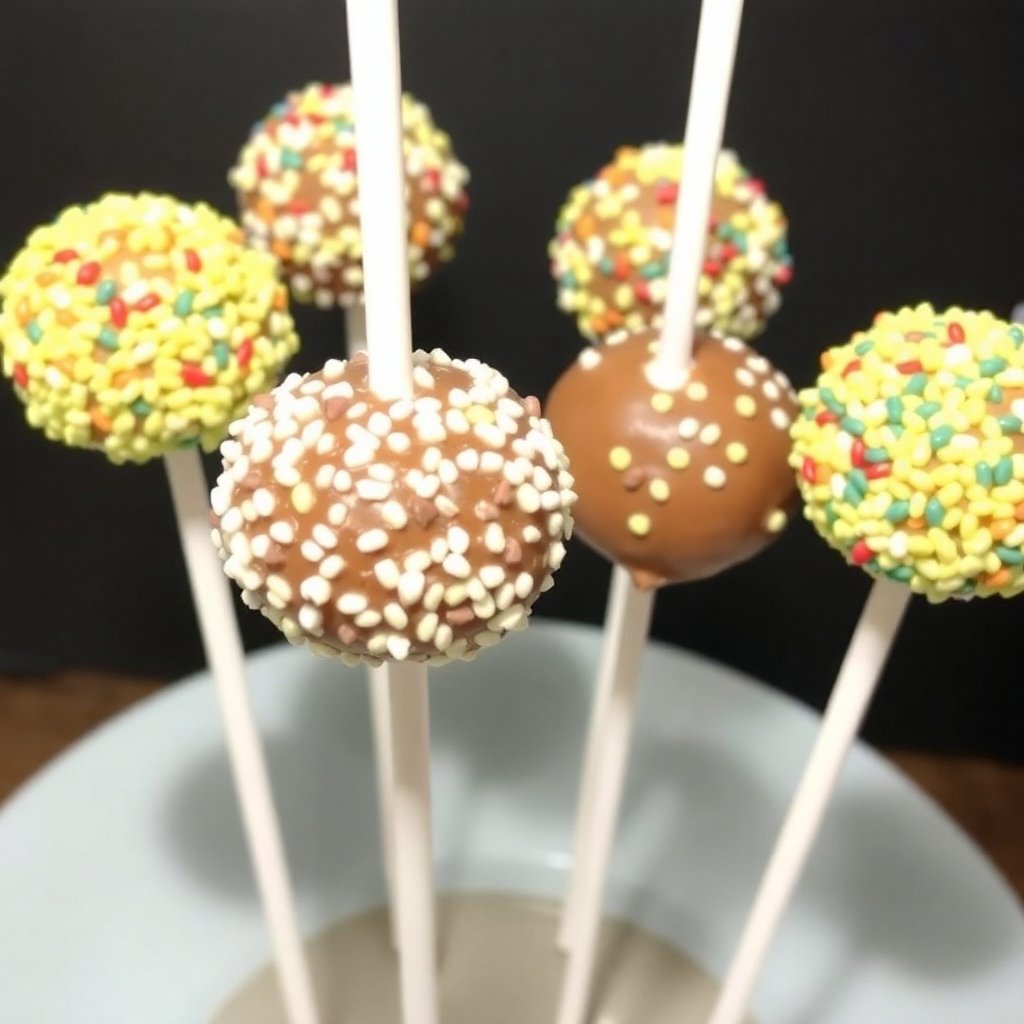
- Add decorations before coating sets
- Allow pops to dry completely upright
Common Problems and Solutions
Troubleshooting Guide
- Cracking coating: Let coating cool slightly before dipping
- Falling off sticks: Insert sticks deeper and secure with coating
- Misshapen balls: Chill thoroughly between shaping
- Too sweet: Reduce frosting amount
- Uneven coating: Thin coating with vegetable oil if needed
Storage and Make-Ahead Options
Storage Guidelines
- Uncoated balls: Refrigerate up to 2 days
- Finished pops: Refrigerate up to 1 week
- Frozen (coated or uncoated): Up to 6 weeks
Creative Variations
Popular Flavor Combinations
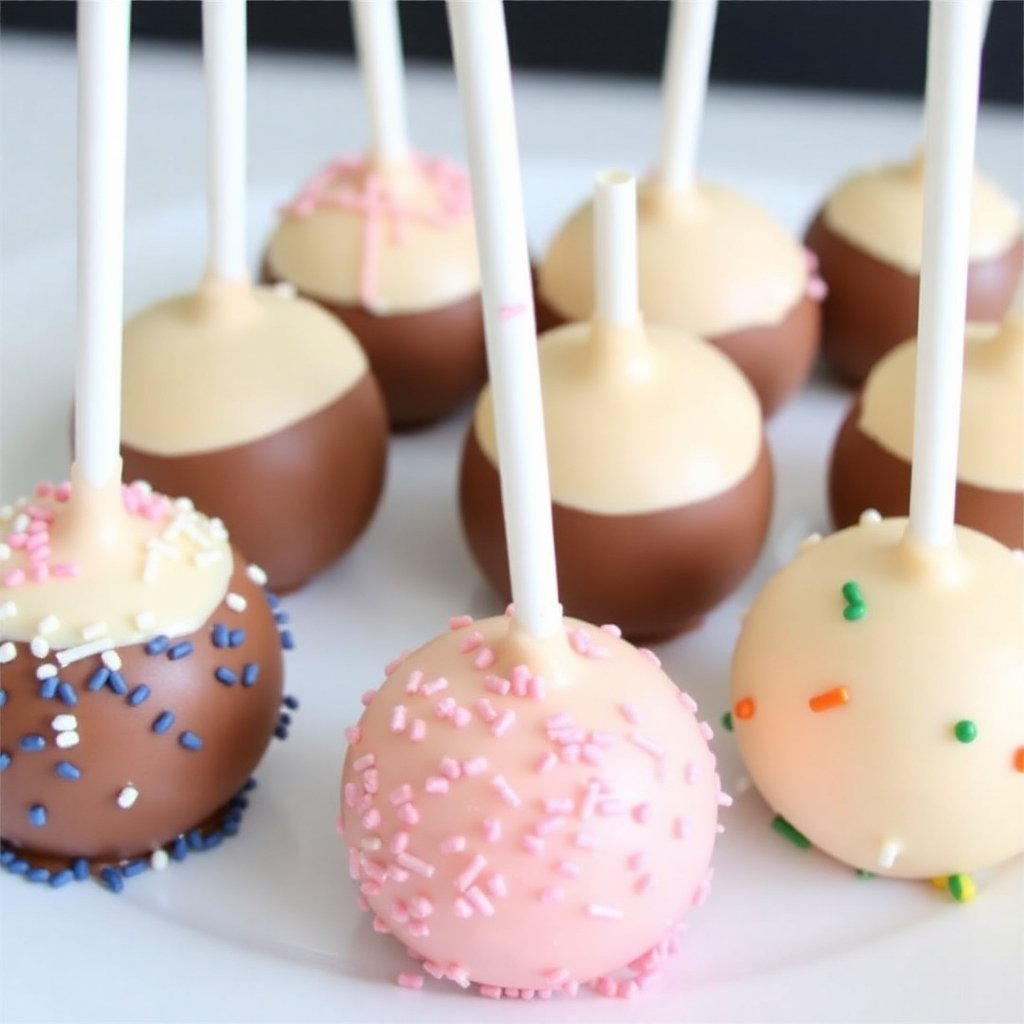
- Classic vanilla cake with chocolate coating
- Red velvet with cream cheese frosting and white chocolate
- Chocolate cake with peanut butter frosting
- Funfetti cake with vanilla coating
- Make cake up to 3 days ahead
- Form balls 1-2 days before event
- Coat and decorate 1 day before
- Calculate 1.5-2 pops per person
- Include extra for breakage
 Lemon cake with white chocolate coating
Professional Presentation Tips
Decorating Ideas
- Drizzle contrasting colors
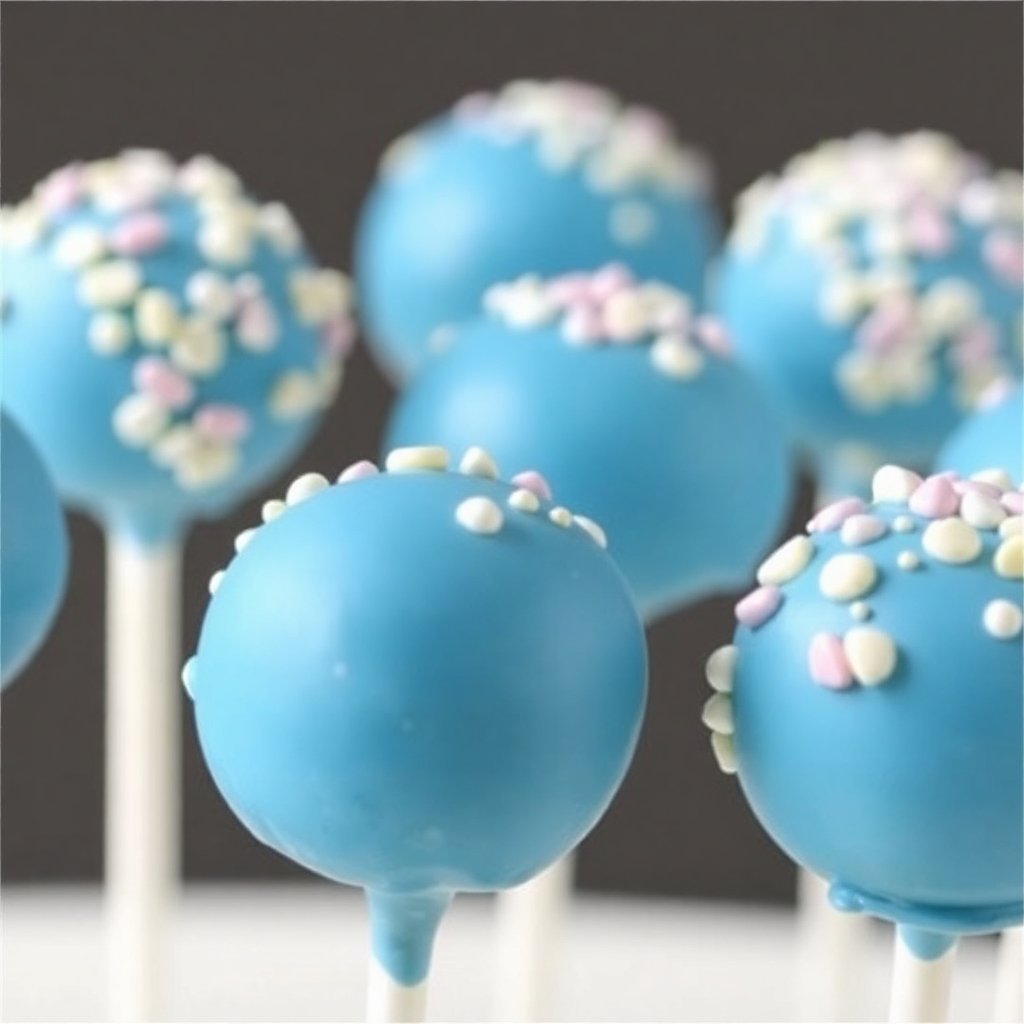
- Add sprinkles or edible glitter
- Create marbled effects
- Use multiple coating colors
- Add themed decorations for holidays
Frequently Asked Questions
Can I use regular chocolate instead of candy melts?
Yes, but you’ll need to add vegetable oil to thin it and properly temper it for best results.
Why do my cake pops crack after coating?
Cracking usually occurs when the temperature difference between the cake ball and coating is too extreme. Let coating cool slightly before dipping.
How long do cake pops need to set?
Typically 1 hour at room temperature, or 15-20 minutes in the refrigerator.
Can I make cake pops ahead of time?
Yes, they can be made up to a week ahead and stored in the refrigerator, or frozen for up to 6 weeks.
What’s the best way to transport cake pops?
Store them upright in a container with holes for the sticks, or lay them flat with wax paper between layers.
Conclusion:
Mastering cake pops requires patience and practice, but the results are worth the effort. Focus on maintaining proper temperatures, working in small batches, and following the fundamental techniques outlined in this guide. With these tips and tricks, you’ll be creating professional-looking cake pops that taste as good as they look. Remember that even if your first batch isn’t perfect, each attempt will help you refine your technique and develop your own style.

Welcome to Crispy Dish, your ultimate destination for delightful recipes and culinary inspiration! My name is Mr. Hamza, and I am proud to call myself a recipe master with over 15 years of experience in the art of cooking.
At Crispy Dish, we believe that every dish tells a story, and my journey has been all about turning simple ingredients into flavorful memories. Over the years, I have honed my skills in crafting recipes that are not only easy to follow but also bursting with flavor. Whether you’re a seasoned chef or a home cook, my goal is to bring the joy of cooking into your kitchen.
Join me as I share my passion for creating dishes that are crispy, delicious, and unforgettable. Let’s make every meal a celebration!
𝑪𝒓𝒖𝒏𝒄𝒉𝒚 𝑩𝒊𝒕𝒆𝒔, 𝑼𝒏𝒇𝒐𝒓𝒈𝒆𝒕𝒕𝒂𝒃𝒍𝒆 𝑻𝒂𝒔𝒕𝒆!