
There’s something deeply satisfying about creating fresh pasta from scratch. With a KitchenAid stand mixer and the right attachments, you can transform simple ingredients into restaurant-quality pasta in your own kitchen. This comprehensive guide will walk you through everything you need to know about making, storing, and serving homemade pasta.
Essential Equipment
The Basic Setup
- KitchenAid stand mixer
- Flat beater attachment
- Dough hook attachment
- Pasta roller attachment
- Pasta cutter attachments (for different noodle shapes)
- Sharp knife or pastry bench scraper
- Plastic wrap
- Baking sheets
- Clean kitchen towels
Optional but Helpful
- Pasta drying rack
- Kitchen scale for precise measurements
- Sifter attachment for flour
- Grain mill attachment for custom flour blends
Core Ingredients
The Foundation
- 2 cups all-purpose flour (spooned and leveled)
- 3 large eggs
- 1/2 teaspoon sea salt
- 1/2 tablespoon extra-virgin olive oil
Understanding Flour Options
- All-purpose flour: Most accessible and works perfectly well
- 00 flour: Super-fine Italian flour for silky pasta
- Semolina flour: Made from durum wheat, ideal for heartier pasta
- Alternative flours: Can include gluten-free blends with xanthan gum
Step-by-Step Process
Preparing the Dough
- Create a flour well on a clean work surface
- Add eggs, salt, and olive oil to the center
- Use a fork to gradually incorporate flour from inner walls
- Form into a shaggy dough with your hands
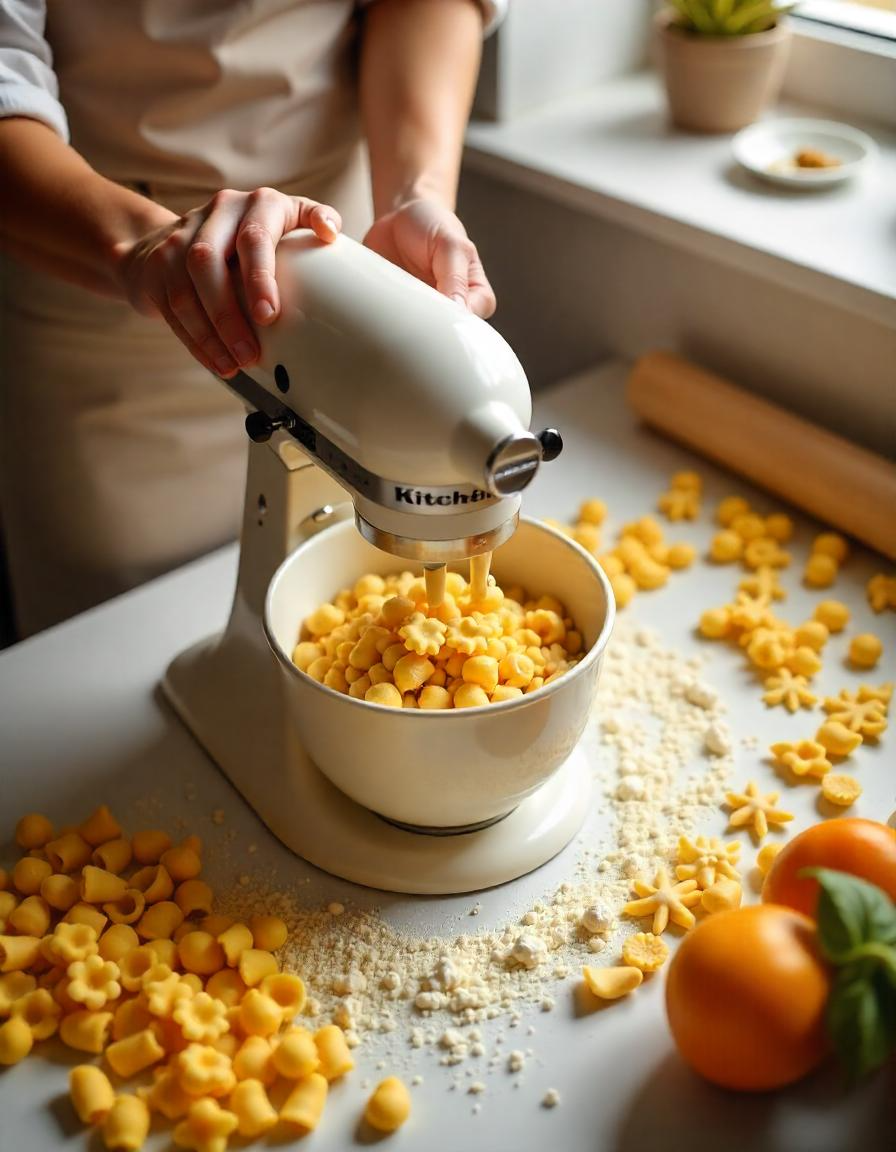
Mixing with the Stand Mixer
- Add flour to mixer bowl
- Create a well and add eggs, salt, and oil
- Mix with flat beater until combined
- Switch to dough hook and knead for 2 minutes
- Dough should form a cohesive ball
Resting and Dividing
- Form dough into a ball
- Wrap tightly in plastic wrap
- Let rest at room temperature for 30 minutes
- Cut into 4 equal portions before rolling
Rolling and Cutting
- Flatten each portion into an oval
- Start with pasta roller on widest setting (Level 1)
- Roll dough through 3 times, folding between each pass
- Gradually decrease roller width to desired thickness
- Cut with chosen pasta cutter attachment
Advanced Techniques
Creating Pasta Shapes
The KitchenAid Gourmet Pasta Press can create:
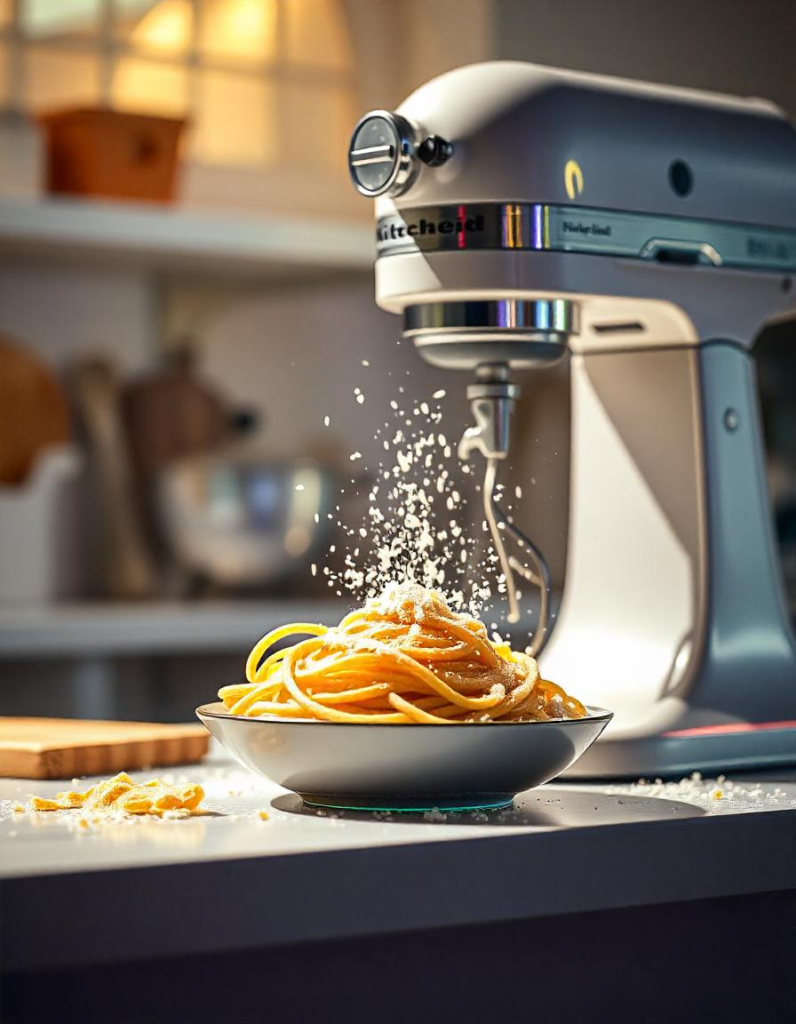
- Spaghetti
- Fettuccine
- Rigatoni
- Fusilli
- Bucatini
- Macaroni
Flavored Pasta Variations
- Herb-infused: Add finely chopped fresh herbs
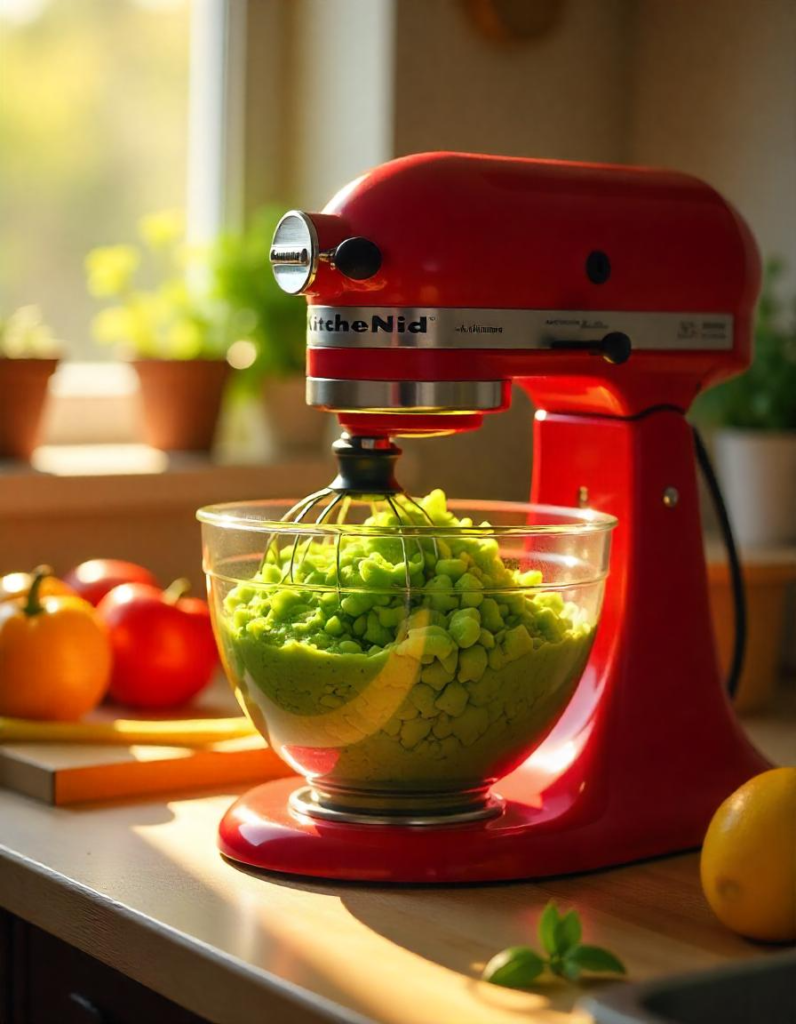
- Spinach pasta: Include pureed spinach
- Beet pasta: Mix in beet puree
- Squid ink pasta: Add squid ink for black pasta
- Saffron pasta: Incorporate saffron threads
Storage Methods
Short-Term Storage
- Dust fresh pasta with flour
- Form into nests or lay flat
- Store in refrigerator up to 24 hours
Drying Process
- Arrange pasta on drying rack or clean towel
- Allow to dry at room temperature
- Store in airtight container once completely dry
- Use within 1 month
Freezing Instructions
- Dust pasta with flour
- Form into portions
- Freeze on baking sheet for 30 minutes
- Transfer to freezer bags
- Store up to 3 months
Cooking Perfect Pasta
Basic Cooking Method
- Bring large pot of water to rolling boil
- Add 3 tablespoons salt per 4 quarts water
- Cook fresh pasta 1-4 minutes
- Test frequently for al dente texture
Sauce Pairing Guidelines
- Thin noodles: Light, oil-based sauces
- Wide noodles: Cream or meat sauces
- Shaped pasta: Chunky vegetable sauces
- Pasta won’t feed: Flatten dough more
- Rough edges: Fold and reroll
- Uneven thickness: Feed dough straighterTube pasta: Heavy meat sauces
Troubleshooting Common Issues
Dough Problems
- Too crumbly: Add water slowly
- Too sticky: Incorporate more flour
- Won’t come together: Continue kneading
- Tears easily: Let rest longer
Machine Issues
- Pasta won’t feed: Flatten dough more
- Rough edges: Fold and reroll
- Uneven thickness: Feed dough straighter
Frequently Asked Questions
Why is my pasta dough too dry?
Eggs vary in size and humidity affects flour absorption. Add water a few drops at a time until dough comes together.
Can I make pasta dough ahead of time?
Yes, you can refrigerate wrapped dough up to 24 hours or freeze up to 1 month.
Why does my pasta stick together?
Insufficient flour dusting or overcrowding while drying can cause sticking. Keep pasta well-floured and separated.
How thick should I roll my pasta?
For most noodles, roll to setting 5 or 6. Lasagna sheets can be slightly thicker at setting 4.
Can I use different flours?
Yes, but you may need to adjust liquid ratios. Start with tested recipes before experimenting.
Conclusion
Making pasta with a KitchenAid stand mixer combines the satisfaction of handmade pasta with modern convenience. While mastering the process takes practice, the basic techniques are straightforward. Focus on quality ingredients, proper dough consistency, and careful attention to rolling and cutting. With these fundamentals in place, you’ll be creating professional-quality pasta at home. Remember that each batch is an opportunity to refine your technique and experiment with new variations. Whether you’re making a simple weeknight dinner or preparing for a special occasion, homemade pasta elevates any meal from ordinary to extraordinary.

Welcome to Crispy Dish, your ultimate destination for delightful recipes and culinary inspiration! My name is Mr. Hamza, and I am proud to call myself a recipe master with over 15 years of experience in the art of cooking.
At Crispy Dish, we believe that every dish tells a story, and my journey has been all about turning simple ingredients into flavorful memories. Over the years, I have honed my skills in crafting recipes that are not only easy to follow but also bursting with flavor. Whether you’re a seasoned chef or a home cook, my goal is to bring the joy of cooking into your kitchen.
Join me as I share my passion for creating dishes that are crispy, delicious, and unforgettable. Let’s make every meal a celebration!
𝑪𝒓𝒖𝒏𝒄𝒉𝒚 𝑩𝒊𝒕𝒆𝒔, 𝑼𝒏𝒇𝒐𝒓𝒈𝒆𝒕𝒕𝒂𝒃𝒍𝒆 𝑻𝒂𝒔𝒕𝒆!